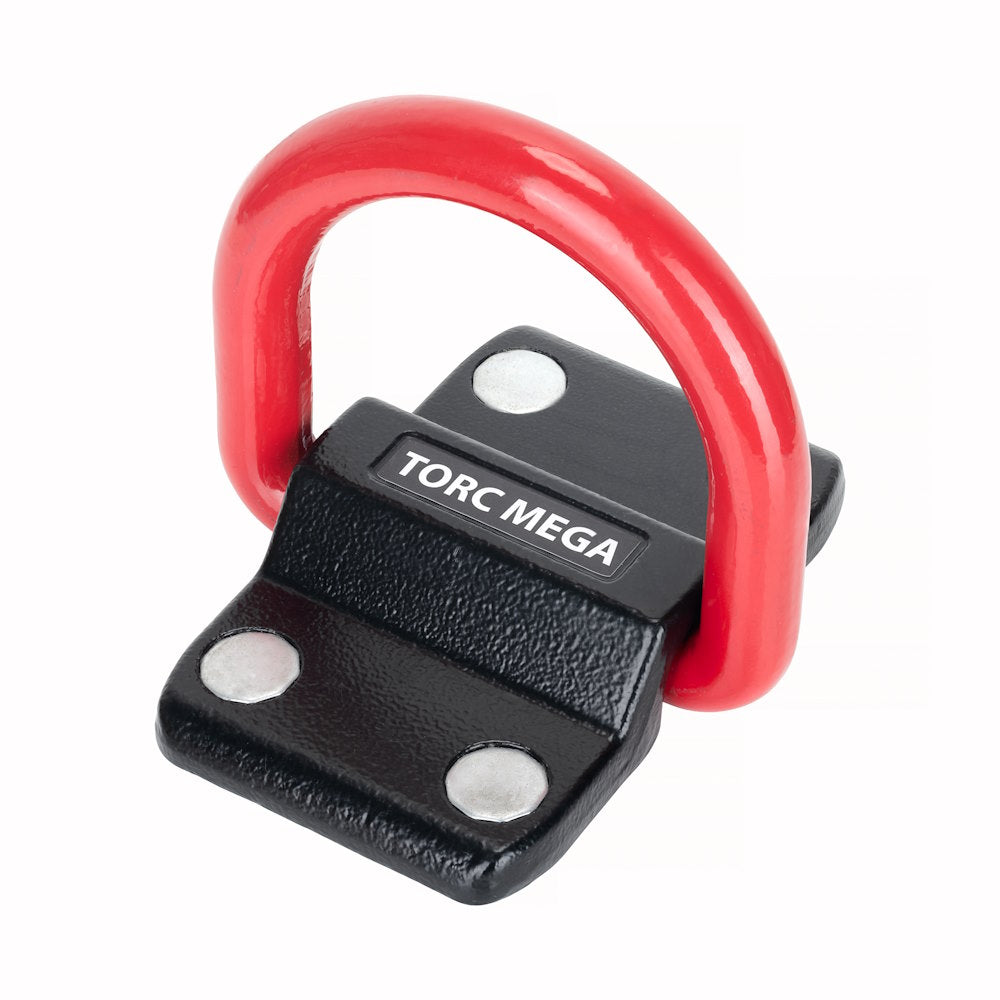
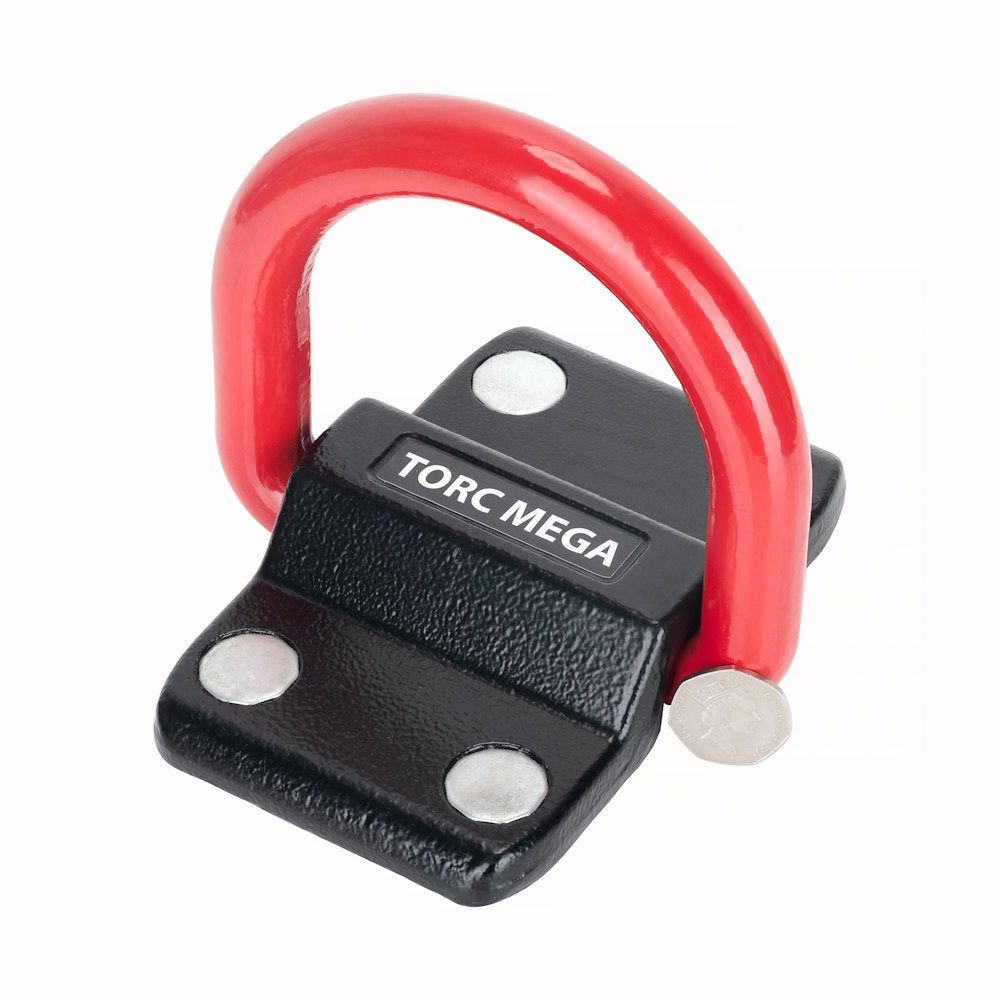
Now available: The Torc Series III Ground Anchor! The Series II anchor has been upgraded with two, new, all-forged designs: the Torc Mega, and the Torc Maxi. The following video gives an overview and comparison between the Mega and Maxi variants, and this page gives a lot more detail on these new anchors.
Video overview of the Torc Mega and Torc Maxi ground anchors.
The Torc Ground Anchor has been the best rated ground anchor on the market for many years. No other anchor has had Sold Secure Gold in so many categories. The Series III designs take it to a new level: No other anchor uses a 22mm diameter forged hardened steel shackle that would have to be cut twice to defeat it and with a choice of five different fitting kits to get the best fixing for concrete floor, brick wall, block wall, awkward situations and even van! No other anchor has special hardened steel hammer-in plugs plus washers to give additional protection to the fixings!
This page gives more information about the Torc ground anchor including the wide choice of fitting kits for it, and more technical information about our flagship products - the Torc Series III Mega and Maxi Ground Anchors. (Click if you need information on the previous Torc Series II ground anchor).
It does not take more than a few seconds for thieves to remove a bike, even when fitted with a disc lock or chain, unless it is chained to something. People usually ignore an alarm when it sounds. Chaining your bike to something solid and secure such as the Torc ground anchor makes it much less likely it will be stolen. The Torc ground anchor is not just suitable for motorcycles - it can be used for bicycles, cars, caravans, quad bikes, ATVs, ride-on lawnmowers and horse trailers. Virtually anything you don't want stolen!
We developed the Torc ground anchor, Series I, because we couldn't find what we wanted after an attempt was made to steal our bikes. The Series I design gained many accolades, including Security Product of the Year in 2006. We replaced it with the Series II design in 2009 and that gained top rating from many customers and reviewers and many thousands are in use all over the world, protecting property and giving peace of mind. We have now replaced it with two new Series III designs, which are even tougher and offer even wider compatibility with the latest chains!
The Torc Series III anchors offer the following features:
The Torc Ground Anchor has been designed for easy DIY fit. The Torc Ground Anchor has been designed so that you can fit it in a wide range of situations using only DIY tools.
The instructions are written in a detailed, step-by-step way to guide you through the process of achieving a high-security fitting without needing exotic tools or advanced skills. There are numerous pictures and we are happy to give advice by e-mail or phone. You should generally be able to fit the Torc Ground Anchor in less than an hour.
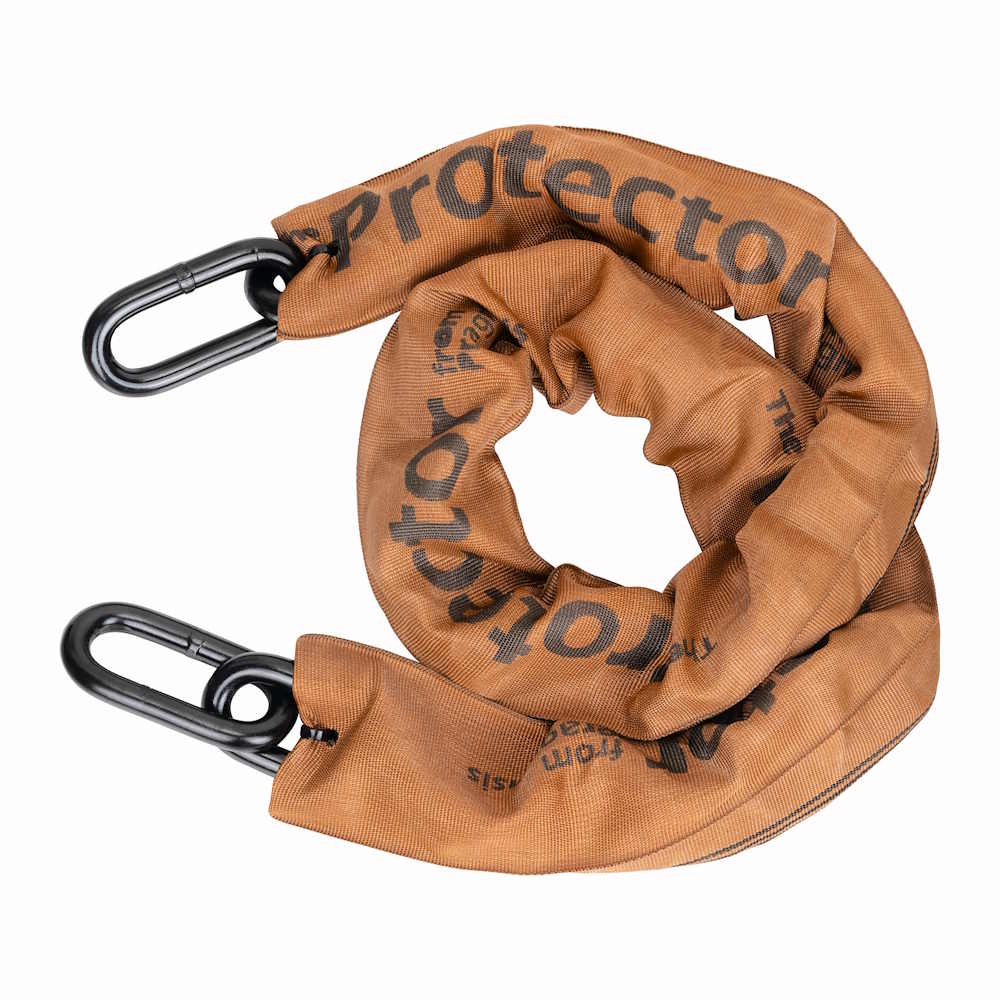
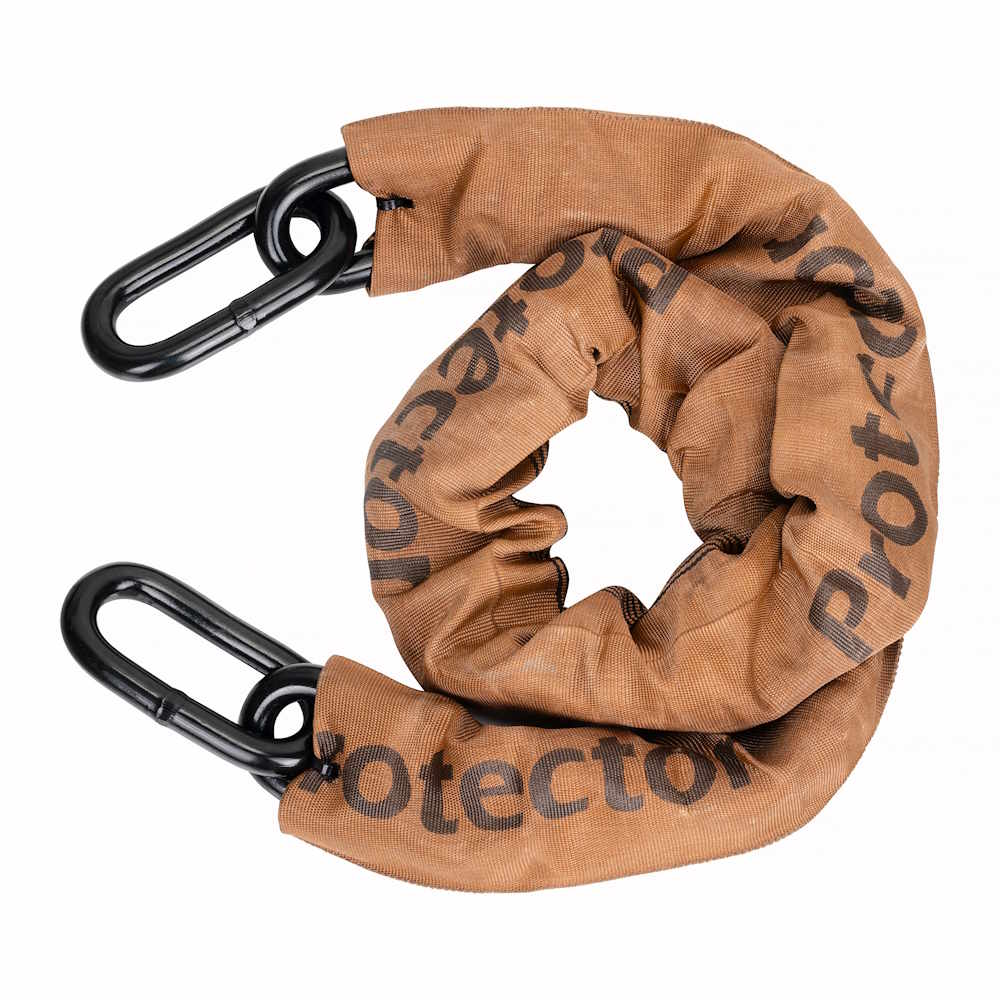
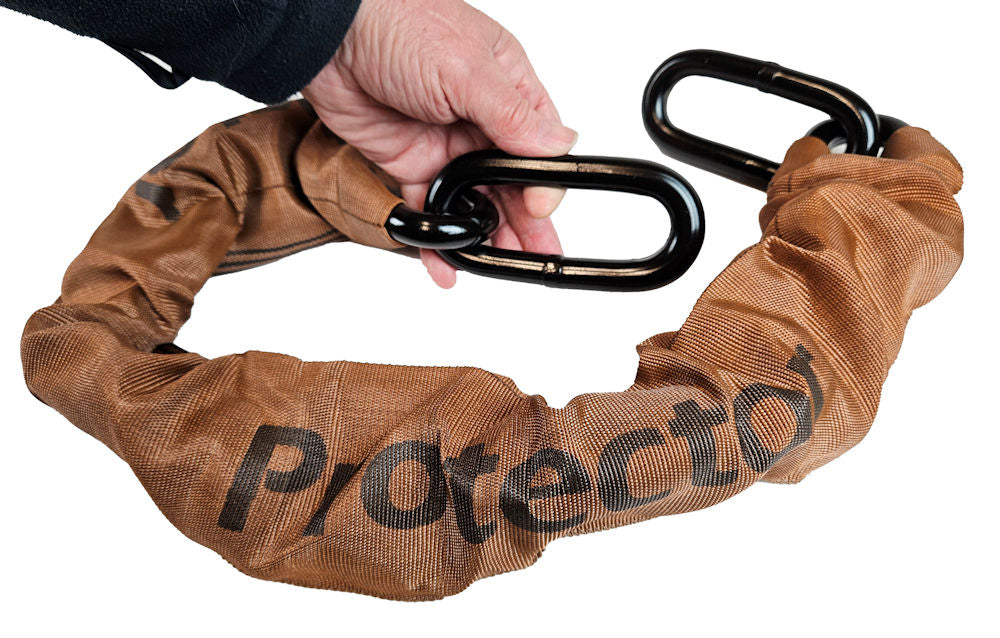
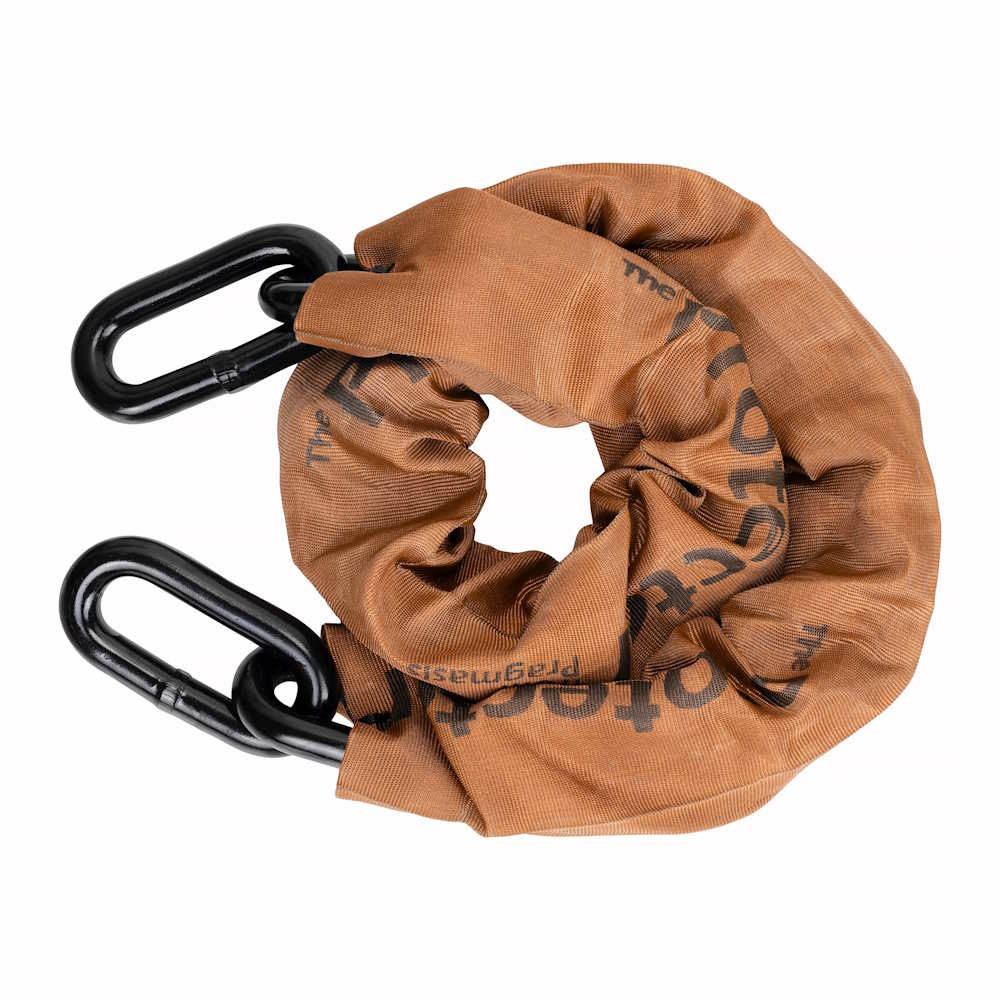
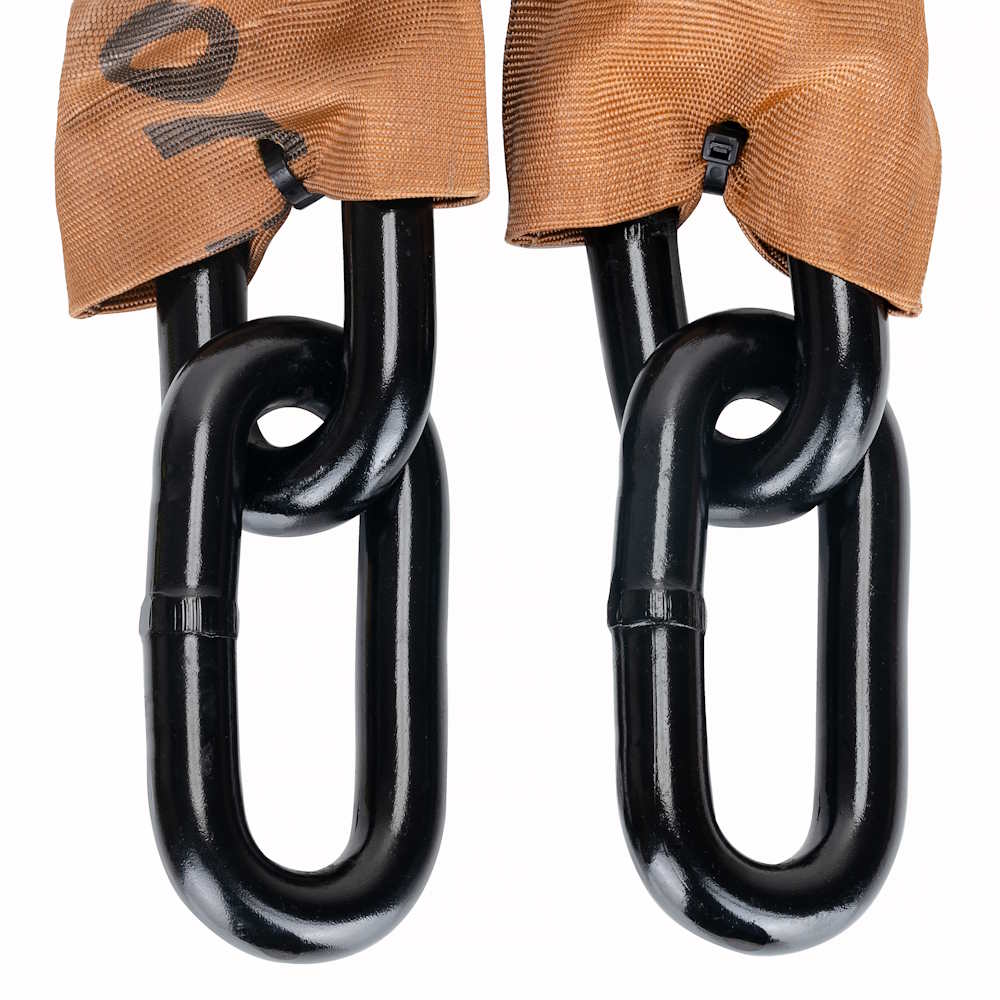
The Torc Mega anchor can cope with the following combinations of Protector chains:
Example Chain Combinations | Comments |
---|---|
Protector 22mm | Easy |
Protector 22mm plus Protector 19mm | Tight fit, but OK |
Protector 22mm plus Protector 16mm plus Protector 13mm | OK |
2 x Protector 19mm | Easy |
2 x Protector 19mm plus Protector 16mm | Tight fit |
2 x Protector 19mm plus Protector 13mm | Easy |
3 x Protector 16mm plus Protector 13mm | Easy |
The Torc Maxi anchor can cope with the following combinations of Protector chains:
Example Chain Combinations | Comments |
---|---|
Protector 22mm | OK |
Protector 19mm | Easy |
Protector 19mm plus Protector 13mm | OK |
2 x Protector 16mm | Tight fit |
3 x Protector 13mm | OK |
4 x Protector 11mm | OK |
The Torc Ground Anchor is available with a choice of five fitting kits to suit your application. No other ground anchor has the same level of certification and the same choice of approved fitting kits! Each fitting kit is designed to give maximum security combined with ease of installation.
The Torc Ground Anchor is available with a choice of the following fitting kits:
Videos are available on the Fitting Kits page that give more detail on various fitting options.
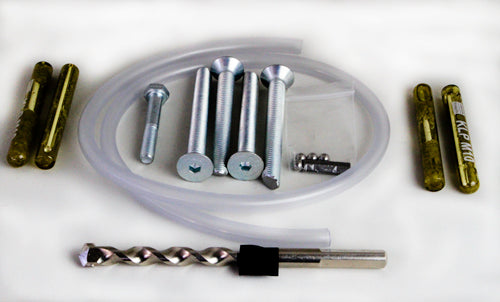
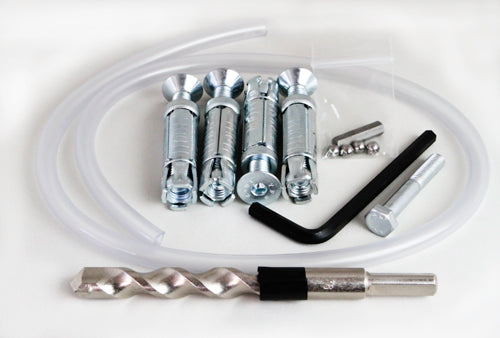
In each package you will get a full fitting kit and fitting instructions, together with all the relevant bolts. The concrete floor and injection resin kits include a 12mm masonry drill bit; the brick wall and block wall kits include a 16mm masonry bit. Those kits also include a length of plastic pipe to help you clean dust from the holes!
Video showing how to install the Torc ground anchor in good quality concrete using resin capsules: (This video also shows a comparison of different types of hammer drill. Note that the standard fitting kits do not include the special drill bit for an SDS+ drill. We can supply those on request, at extra cost.)
**Please Note: This video shows the Series II ground anchor. The Series III installation procedure is broadly the same on both Mega and Maxi, but for these new anchors also having special hammer-in hardened steel plugs. These are easy to fit, thanks to our special design, and the procedure is fully explained in the fitting instructions supplied with each anchor.
Video showing how to install the Torc ground anchor in various situations using an injection resin cartridge: (Some situations might require resin sleeves (available to order) to constrain the resin if there are extensive voids, such as hollow concrete blocks, involved.)
**Please Note: This video shows the Series II ground anchor. The Series III installation procedure is broadly the same on both Mega and Maxi, but for these new anchors also having special hammer-in hardened steel plugs. These are easy to fit, thanks to our special design, and the procedure is fully explained in the fitting instructions supplied with each anchor.
We also list the detailed contents of each of the fitting kits.
Customer comment: "The idea of bolts being held in by resin seemed strange to me - so I contacted a mate at Rolls Royce - he said they hold their jet engines to the floor using the same method - so fair enough, my doubts were sorted." (The Concrete Floor fitting kit uses four chemical resin capsules for maximum strength and for ease of fitting.)
The chemical resin capsule and injection resin kits give the strongest result with existing concrete, but only if the concrete itself is good enough.
Drilling a test hole in the right sort of position is the best way to judge it. We mention this in the videos above.
Good quality concrete needs to be at least 120mm thick and solid to that depth, with no air pockets or voids, in order to use the resin capsule approach. That is the favourite and the strongest if the concrete is good. If the concrete is not so great, an Injection Resin kit can give the strength of resin, but it is more expensive and can't compensate for significantly poor concrete. The nominal Brick Wall fitting kit is the more universal one as it is less fussy about concrete quality, but the fixings are not as strong and it needs larger holes to be drilled so can be more fiddley. Beware that the expanding bolts in the Brick Wall fitting kit mean it should not be near the top or end of a wall - click for more explanation about suitability.
We recommend drilling e.g. an 8mm diameter hole to 95mm depth (as that is the final depth for the resin kits). Anything up to 12mm diameter is OK, which is the final size for the resin kits. If you find the drill gives way underneath you, or if you break through into soil etc below, then the concrete is not good enough for resin capsules. Ditto if the concrete is crumbley and you are left with a rough hole. You can check the hole with a piece of wire or rod or a thin screwdriver, as we mention in the videos, to check the condition of the sides and bottom of the hole. You want good solid concrete and well formed holes with a solid bottom. If it's less than excellent then an Injection Resin kit can compensate by providing more resin (e.g. the 100ml cartridge provides approximately 2.5 times the volume of resin from the capsules, and the 150ml cartridge will be about 4 times as much as the capsules). Even that will not compensate for a huge void within or below the concrete. Situations like that are more easily handled by going for the nominal Brick Wall kit with expanding bolts (aka. Shield Anchors). If you really want the strongest possible result then cutting out a section of thin/poor concrete, digging down, and pouring fresh concrete with the Concrete-in anchor being installed in the same process can resolve major problems with concrete, albeit with more effort and cost.
Please note that none of our fitting options are suitable to use on paving slabs or block paving. These are not suitable substrates for fitting any type of ground anchor. This is partly because the slabs or blocks will often simply lift away, with the anchor attached, if a thief attempts an attack. It can also be because simply trying to drill the holes to fit an anchor will cause the slab to crack into pieces. And if the drilling doesn't caue it to break up, a thief using a sledgehammer will probably have the same result! Using our anchors with shorter-than-standard bolts will not get around any of these problems. If you need to fit an anchor to an area with pavings slabs or block paving, the recommended approach is to lift one or more of them, to dig down, and lay fresh concrete and ideally fit a Torc anchor in the fresh concrete by means of the Concrete-in fitting kit, or to lay fresh concrete and leave it to set, and then fit an anchor with resin or other fixings afterwards, following the appropriate fitting instructions.
You should always be very careful to choose a good position for your Torc Ground Anchor. An ideal site will:
We offer detailed information on a separate page on the technical aspects of the Torc Ground Anchor Series III Mega and Maxi dimensions and manufacturing details.
Please refer to the photos below to see views from various angles.
There are lots of security devices on the market and it can be confusing to decide which ones are good and which ones aren't. One way of doing this is to ensure that any device you fit is tested by an independent organisation such as Sold Secure or accredited by the Police - the Torc ground anchor has both!
We have more information on Torc ground anchor certification and testing and our approval certificates available online.
The Torc anchor can cater for installation on the floor of a van, and even on suitable framing members on the van walls, inside a metal container, bike shed, etc. It is the only ground anchor with a specific fitting kit designed for installation in a van and similar situations.
Many motorbikes, bicycles and other valuable items are stolen from vans, especially near motocross and other race venues where there are often hundreds of bikes arriving in vans and on trailers. Using the Torc anchor when the bikes are not being ridden changes easy pickings for a thief into a much bigger challenge. Make life difficult for them!
Theft of commercial equipment from vans is also a major problem - lawn maintenance equipment, concrete mixers and other expensive tools are often stolen from vans left on the drive overnight, or by opportunist thieves during the daytime. Don't let them steal your valuable equipment!
The Torc anchor van fitting kit includes high tensile bolts and security shear nuts and load-spreading penny washers. It is designed for easy installation in a van or other thin-walled metal enclosure (including bike safes). The Metal Shed Shackle is also designed for use in bike safes and other metal-walled structures.
If you are unable to fit the anchor yourself because of landlord restrictions, for example, we can sometimes offer an installation service in partnership with professional fitters that are experienced with chemical resin techniques and security products. Price on application.
The Torc Ground Anchor is designed for permanent fitting, and so is really difficult to move once it has been fitted. So please, don't fit it in the wrong place!
If you have to remove it, e.g. when moving house and the new owner doesn't see the merits of having an anchor available, it can be removed by cutting it out of the concrete. This will not be a quick process but if it is done carefully, the body of the anchor can be recovered and installed at a new location. Contact us for a new fitting kit. The cleanest way to cut it out is generally with the aid of a large (9") angle grinder with a concrete-cutting disc. This is a dangerous tool and should only be used by an experienced operator. You will then have to cut the concrete away from the fixings below the anchor base plate, and drive the bolts upwards through their holes by hammering, to remove the hardened steel plugs. This is a difficult process. The Torc ground anchor is designed to be difficult to remove, so don't expect to be able to remove one quickly!
Our comprehensive range of ground anchors includes the Double Doofer - a removable ground anchor. This may be a good option for you if you know you will be moving house or needing to move a ground anchor!
The Torc Series III Mega plus Maxi anchors (note that the plugs are just resting in their holes in this photo - The photo below shows how the plug looks when it is fully hammered into position) |
|||
...Close-up of one of the bolts with its ball bearing hammered into position, plus a flat washer in place, ready for the hardened plug to be added (see below) |
|||
...Close-up of one of the four hardened steel plugs, after it has been hammered into position properly. |
|||
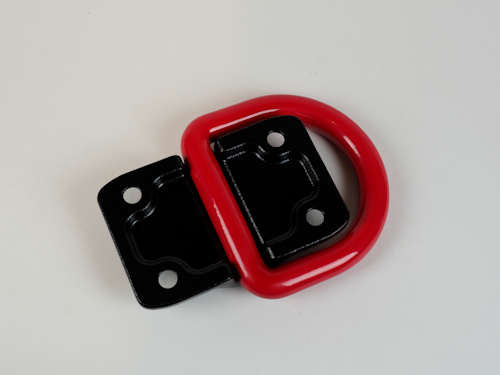
The underside view of the Torc Series III anchors - Both the D-Shackle and the base plate are forged, for maximum strength. |
|||
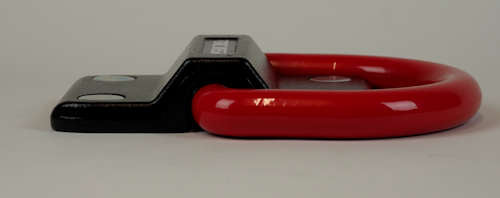
The side view of the Torc Series III anchors - The plugs are hammered into position to give a flat surface so they're not coming out easily! |
|||
|
**More images to come** |
We named the Torc Ground Anchor after the name that Celtic people gave to their gold jewellery. Click for more info on Torc History.
The Torc Series III ground anchors are available in our online shop.